In this article
Step-by-step linking


Open the global menu and navigate to the Services module.
Tap on a service to open its management view.
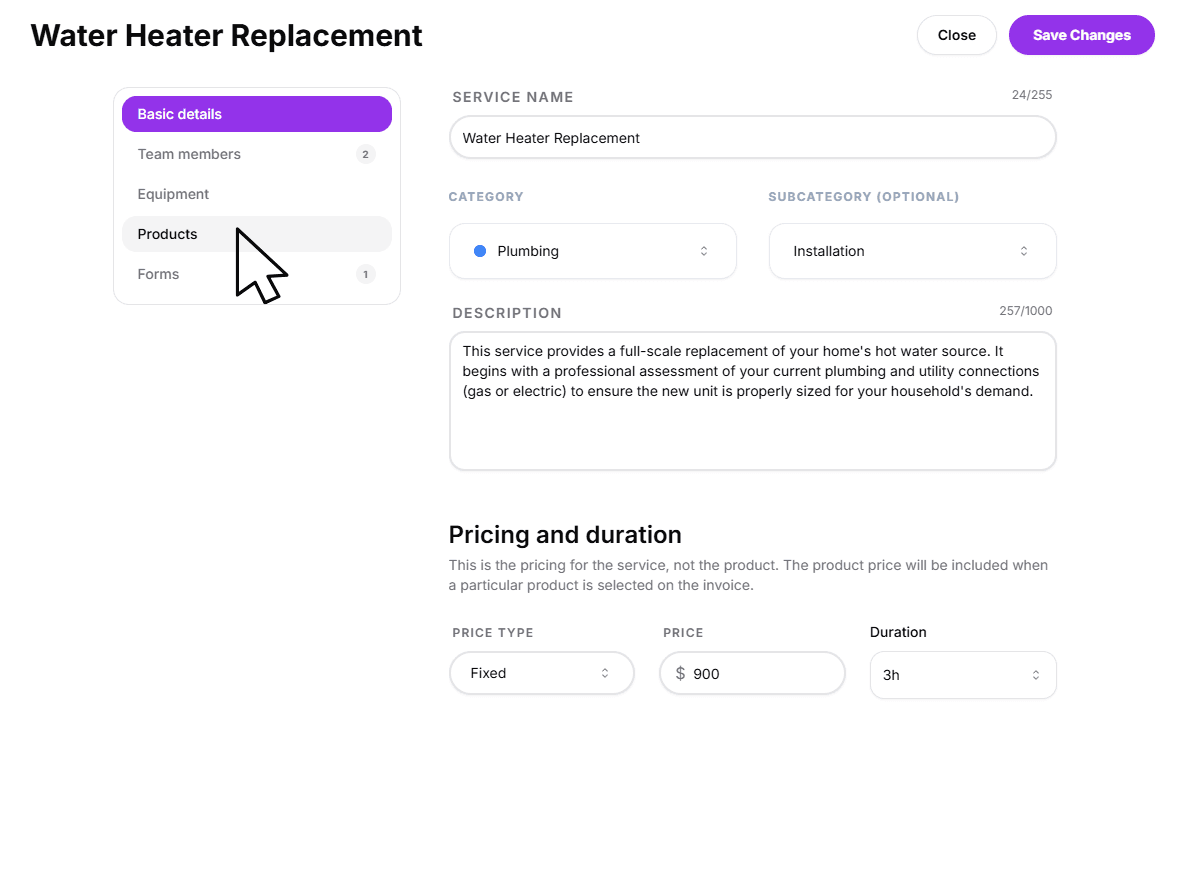
Tap the Products tab from the navigation menu within the service sheet.
Select your products and tap Save Changes at the bottom.
Technician Efficiency & Speed
Associating specific products with your services isn't just for back-office tracking; it's a powerful tool for your team in the field.
On-Site Filtering
By pre-linking relevant items, you enable technicians to quickly filter through only the products that matter for the current job, saving time on the job site.
Field Clarity
Technicians can instantly see which retail options are recommended for a particular service, ensuring they never miss an opportunity to provide the right solution for the client.
Next: Add service forms
You've configured your team, equipment, and products. The final step in mastering your services is linking custom forms to capture crucial job data from your customers and technicians.
Ready to link forms?
Learn how to attach specialized intake or checklist forms to specific services.
View guide: Add forms to a service